The Nightmare Scenario
It is 8:30 AM, the exhibition hall doors open at 9:00 AM, and your freshly set-up pull up banner is suddenly full of waves, ripples, and creases across your main message. Your client will arrive in 30 minutes and the display you were counting on now looks tired and unprofessional.
While deep creases in older vinyl can be permanent, most surface wrinkles and “waving” can still be improved or disguised on-site, especially if you understand your pull up banner material and use a few simple emergency fixes.
Step 1: Identify Your Material (Critical)
Before you use any heat, water, or extra tension, first confirm whether your graphic is printed on vinyl/PVC or fabric/polyester, because both materials react differently to temperature and moisture. Vinyl pull up banners usually have a glossy or semi-gloss laminated surface that becomes softer under gentle warmth but can warp under extreme heat, while fabric exhibition displays have a matte, cloth-like texture that can handle light steaming from the back when protected properly.
If you are not sure what you are using, compare your stand with the systems shown in Pullupstand’s educational guides on roll up banners and the exhibition design guide for pull up and pop up stands to understand how your hardware and print are constructed. You can also browse the full range of pull up banner stands to see which series is closest to your current stand.
Method 1: The Sunlight Strategy (Safest & Easiest)
For light to medium wrinkles on vinyl, one of the safest fixes is to fully extend the banner and place the stand in gentle direct sunlight for about 10–15 minutes so the material warms up and gravity pulls the creases out. Make sure the banner is as taut as possible on the pole and check it every few minutes, especially during hot midday conditions.
This method is ideal if you are using a standard vinyl roll up banner outside the hall or near a bright loading bay, and it requires no tools other than a safe space and a bit of time before the exhibition opens.
Method 2: The Hairdryer Hack (For Stubborn Creases)
When specific, stubborn folds remain, a normal hairdryer set to low or medium heat can help soften localized wrinkles as long as you keep the airflow moving and hold it at least 15 cm away from the surface. Work mainly on the back of the print, then use the flat of your hand to smooth the front in slow vertical strokes from top to bottom so the material relaxes evenly.
This technique is particularly useful for laminated graphics used on retractable banner stands, where the structure is designed to keep the banner under tension but small shipping or storage stresses can still create temporary ripples.
Method 3: The “Tension Trick” (Mechanical Fix)
Sometimes the banner looks wrinkled not because of damage to the print but because the tension system and pole height are slightly off. Start by checking that the top rail is fully hooked onto the pole and that the pole is seated properly in the base. If curling happens near the bottom corners, use small pieces of double-sided tape or removable adhesive to secure those corners to the metal strip, adding extra downward tension.
You can also raise the effective pole height slightly by placing a small coin in the pole socket at the base so the graphic is pulled a bit tighter, which often removes shallow waves on standard pull up banner stands without any heat at all.
Method 4: The Warm Cloth Wipe (No Equipment Needed)
If you do not have access to sunlight or a hairdryer, a soft microfiber cloth and warm water can still help with light surface wrinkles. Soak the cloth in warm (not boiling) water, wring it out completely so it is damp rather than dripping, then wipe the back of the banner firmly in vertical motions from top to bottom.
The mild warmth and friction can relax the vinyl slightly without risking heat damage, especially on standard PVC banner materials. Avoid the freshly printed front surface where possible, and allow any remaining moisture to evaporate in the exhibition hall before visitors arrive.
If All Else Fails: The Art of Distraction
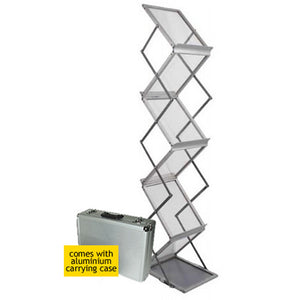
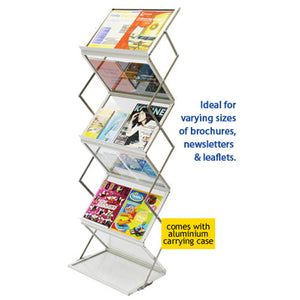
If a wrinkle is permanent or you are down to the last five minutes before the doors open, strategic distraction can still protect your brand image. Adjust lighting so harsh spotlights do not shine directly across the damaged area, rotate the stand slightly so the worst section is out of the main viewing angle, or place a brochure rack or tabletop display in front of the lower part of the banner.
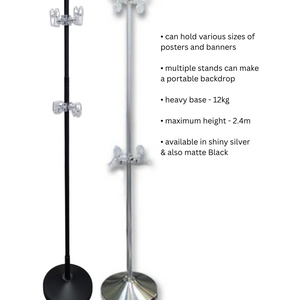
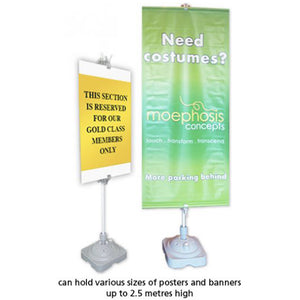
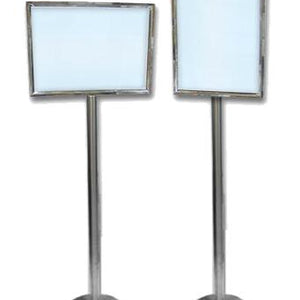
You can also re-balance your booth by pairing the imperfect banner with other displays, such as poster stands and display stands, to draw attention to smoother, more readable surfaces.
Prevention: How to Store It Next Time
The best way to avoid wrinkles is to store and transport your banner correctly between events. Always let the graphic retract slowly and straight into the base, never forcing it at an angle, and avoid putting heavy boxes on top of the carrying case in storage. Keep the stand in a cool, dry place instead of a hot car boot for long periods, and make use of the protective sleeves or bags that come with most pull up banner systems.
If you use multiple stands, separate older and newer graphics with a thin layer of paper to prevent ink transfer, and review Pullupstand’s wider exhibition design guides to plan how your banners, posters and brochure stands will work together at each event.
When to Replace Your Banner Instead of Fixing It
Some signs indicate it is better to replace the print rather than keep trying to rescue it: deep cracks or tears in the vinyl, lamination that is clearly lifting, significant colour fading, or multiple heavy creases that do not relax after several attempts. At that point, continuing to adjust the stand will not restore a professional look.
When you are ready to upgrade, you can explore new hardware and fresh graphics in the pull up banner collection, or consider pairing banners with high-impact backdrops and exhibition panels for your next trade show.